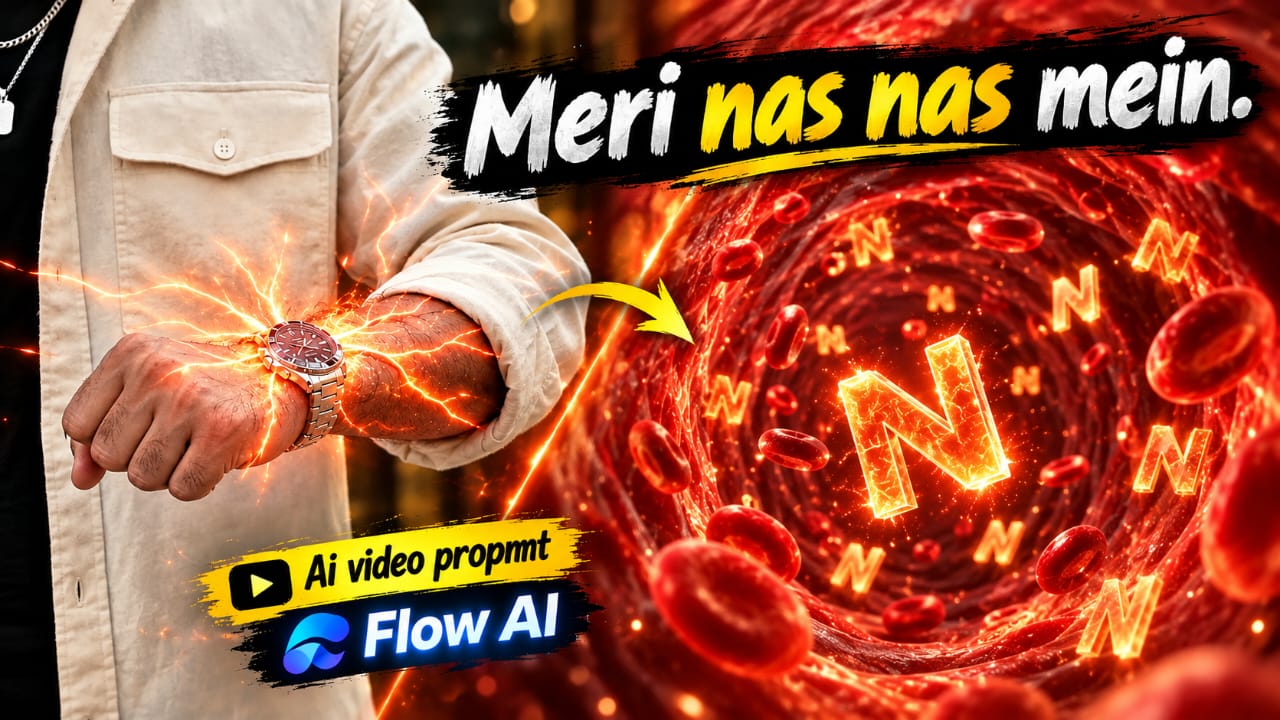
Use a clear hand reference image, preserve the original physical details, and carefully review the camera transition. The result can be a visually impressive demonstration of how realistic photography and computer-generated effects can work together.
Once the transitions and visual effects look correct, export your cinematic AI VFX video.
1. Hindi Attitude AI Video Prompt | Good Vibes Only Cinematic Dialogue
Original URL: https://www.prompt07ai.com/hindi-attitude-ai-video-prompt-good-vibes-only-cinematic-dialogue
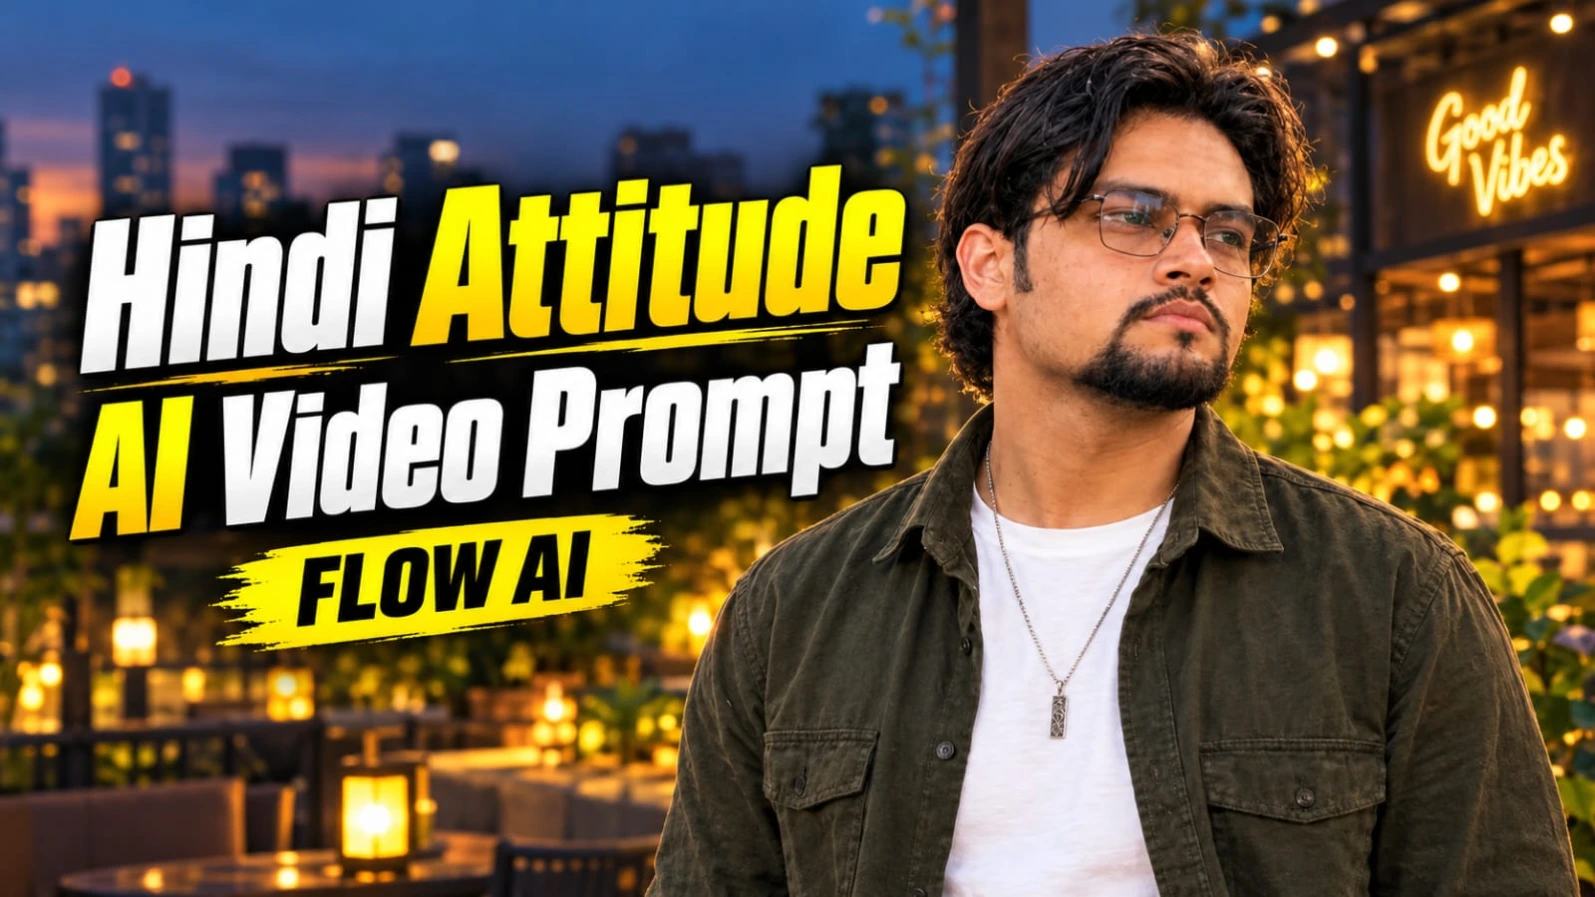
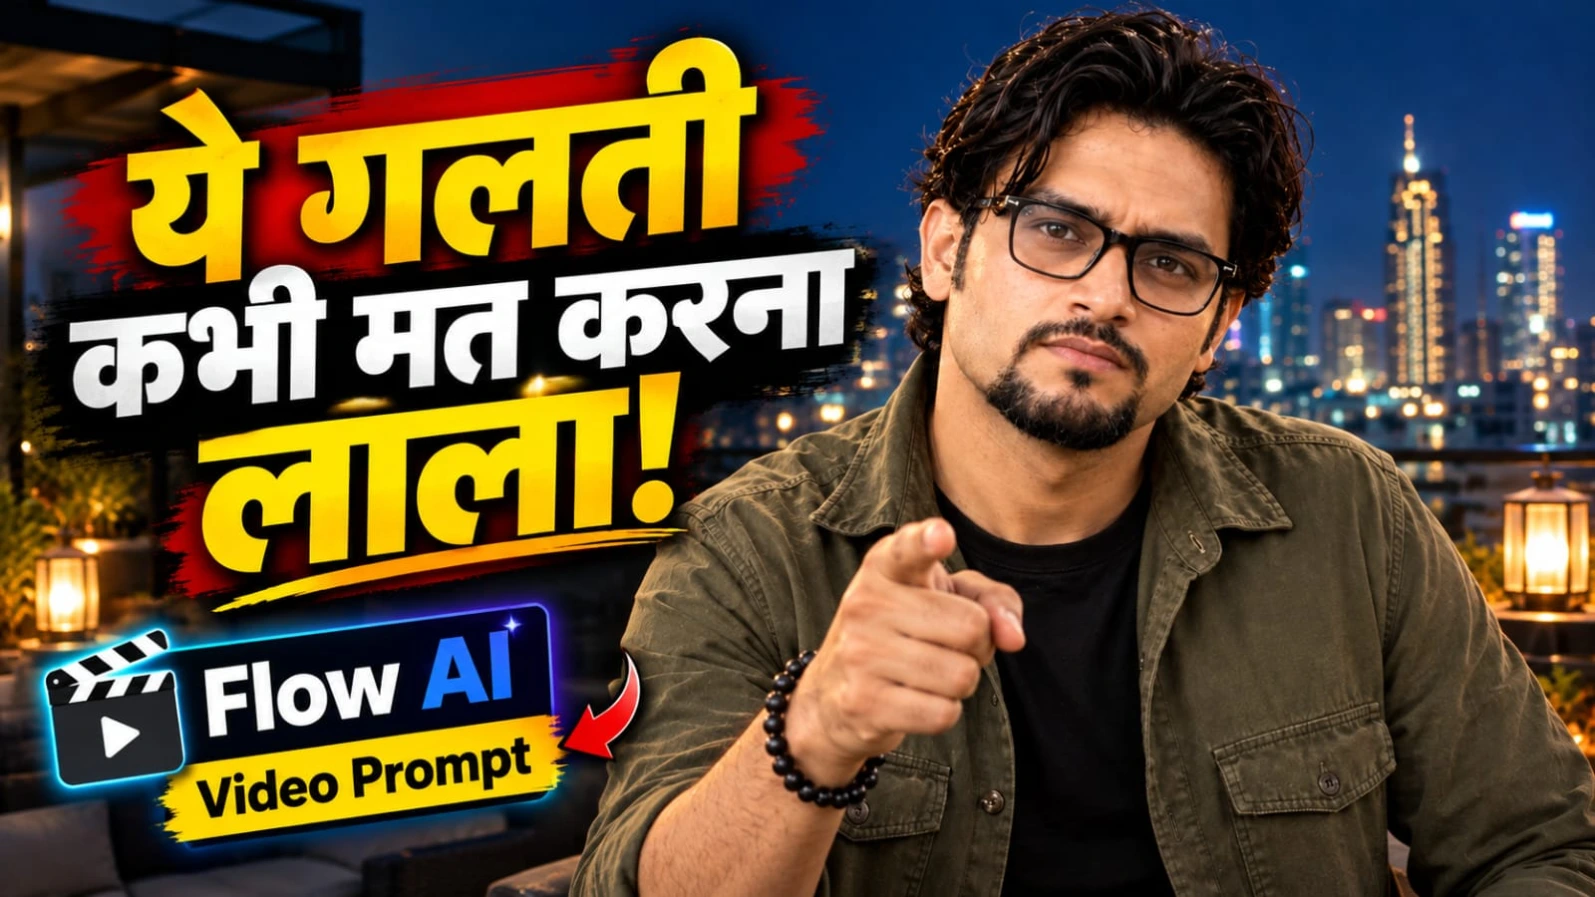
Hindi Attitude AI Video Prompt ki madad se aap ek realistic aur stylish cinematic dialogue video create kar sakte hain. Is concept mein ek young South Asian man modern illuminated city patio par khada hokar camera ki taraf dekhte hue ek powerful Hindi dialogue bolta hai. Background mein warm lantern lights, decorative planter boxes aur ek glowing cafe sign hota hai, jis par "Good Vibes Only" likha hota hai. Twilight atmosphere video ko ek beautiful cinematic look deta hai.
Character ke wavy dark hair, neatly groomed goatee beard aur clear-lens rectangular wire spectacles hain. Woh unbuttoned olive-green overshirt ke andar clean white crew-neck T-shirt pehenta hai. Character ka appearance poore video mein same rehna chahiye, taaki face, hairstyle, beard aur outfit mein unwanted changes na aayein.
Video ka main attraction iska Hindi dialogue aur natural hand gestures hain. Character dialogue deliver karte waqt right hand se forward open-handed gesture karta hai. Last part mein woh apne hands neeche karta hai, warm smile deta hai aur camera ki taraf directly dekhta hai. Final beat par poora frame instantly freeze hokar high-contrast black and white ban jata hai.
Hindi Attitude AI Video Kaise Banaye
Step 1: Character Reference Photo Banayein
Sabse pehle ChatGPT mein apni clear reference photo upload karein. Character ke wavy dark hair, groomed goatee aur rectangular wire spectacles clearly visible hone chahiye. Outfit mein open olive-green overshirt, white T-shirt, dark cargo pants, silver pendant necklace aur wrist accessories rakhein.
Step 2: AI Video Tool Open Karein
Ab Flow AI ya apne selected AI video generator ko open karein. Image-to-video option select karein aur reference image upload karein. Agar character reference feature available hai, to use enable karein.
Step 3: City Patio Background Create Karein
Background mein modern illuminated city patio at twilight rakhein. Character ke aas-paas warm glowing lanterns aur decorative planter boxes hon. Background mein modern cafe architecture aur glowing "Good Vibes Only" sign clearly visible hona chahiye.
Step 4: Camera Setting Select Karein
Video ka format vertical 9:16 rakhein. Camera natural handheld smartphone footage jaisa feel de. Slight natural camera shake honi chahiye, lekin excessive movement nahi hona chahiye. Slow motion use na karein.
Step 5: Hindi Dialogue Add Karein
Character ko natural Hindi male voice mein ye exact dialogue bolna hai:
"Waqt ne to humein insaan ki pehchaan sikha di laala, warna hum to har chehre ko farishta samajh lete the."
Voice clear aur conversational honi chahiye. Mouth movement dialogue ke words ke saath properly synchronize honi chahiye.
Step 6: First Gesture Generate Karein
0:00 se 0:04 seconds tak character apne right hand se forward open-handed gesture kare. Body relaxed aur confident rahe. Dialogue ke words par natural facial expressions aur direct eye contact maintain kare.
Step 7: Smile Aur Final Expression Add Karein
0:04 se 0:07 seconds tak character apne hands slightly neeche kare, warm smile de aur camera lens ki taraf dekhte hue final words complete kare.
Step 8: Black-and-White Freeze Effect Lagayein
Video ke exact final beat par poora frame instantly freeze ho jana chahiye. Usi moment complete frame high-contrast black and white mein convert ho. Gradual fade transition use na karein.
Step 9: Final Video Check Karein
Face, spectacles, hairstyle, beard, outfit aur background consistency check karein. Final video mein extra captions, text ya watermark add na karein. Cafe ka Good Vibes Only sign background ka part hai. Actual 24fps output selected AI tool ki settings par depend karega.
2. Dark Cinematic Attitude Dialogue AI Video Prompt | 9:16
Original URL: https://www.prompt07ai.com/dark-cinematic-attitude-dialogue-ai-video-prompt-9-16
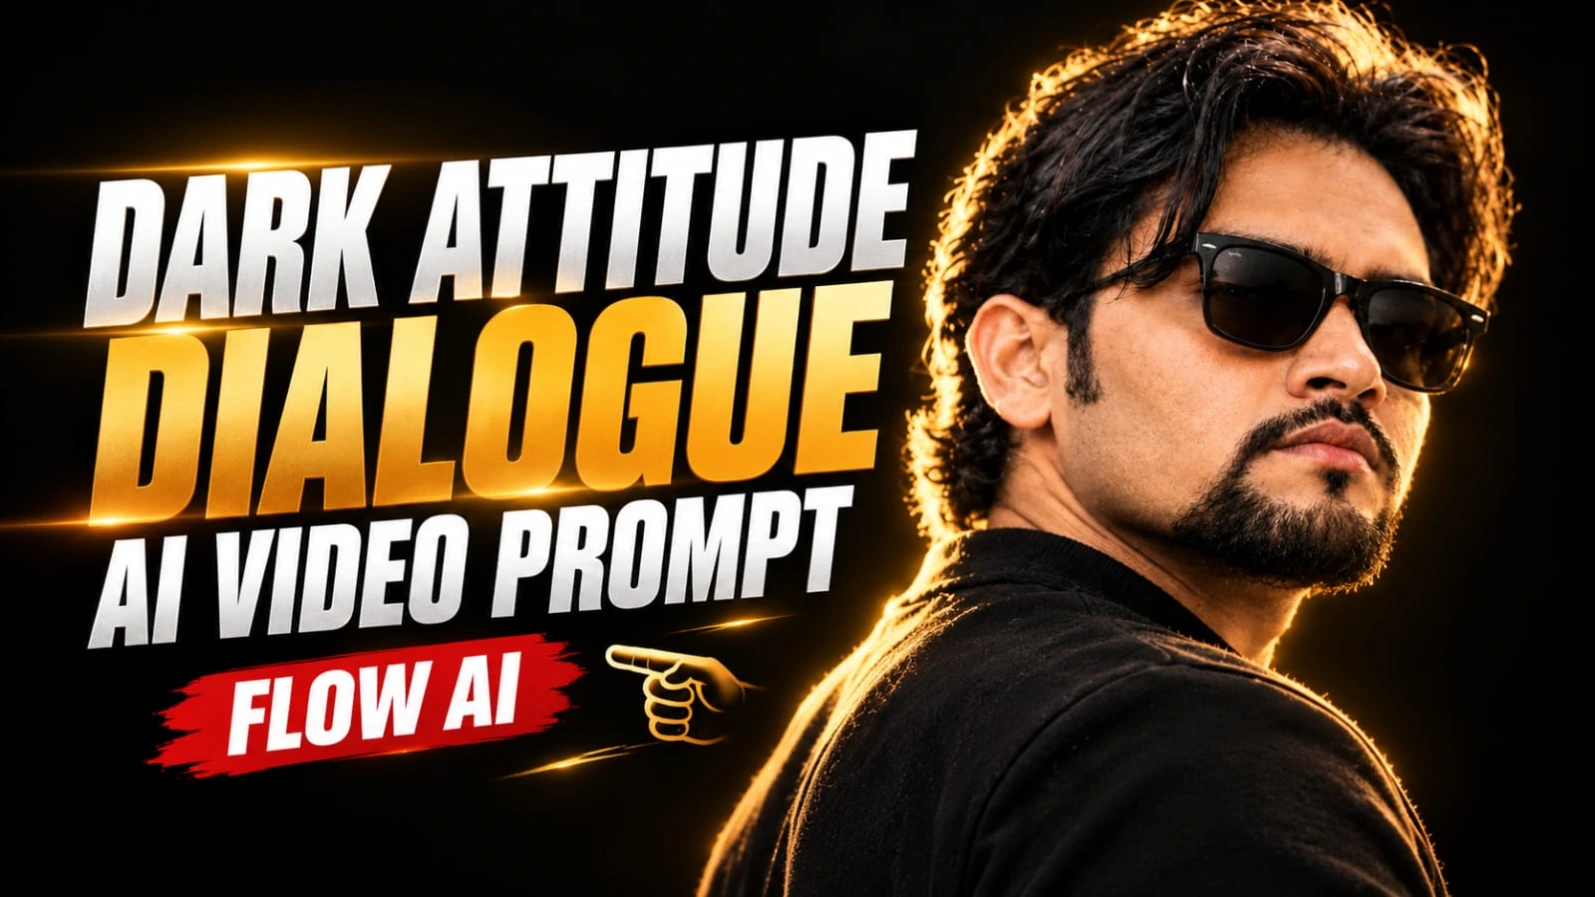
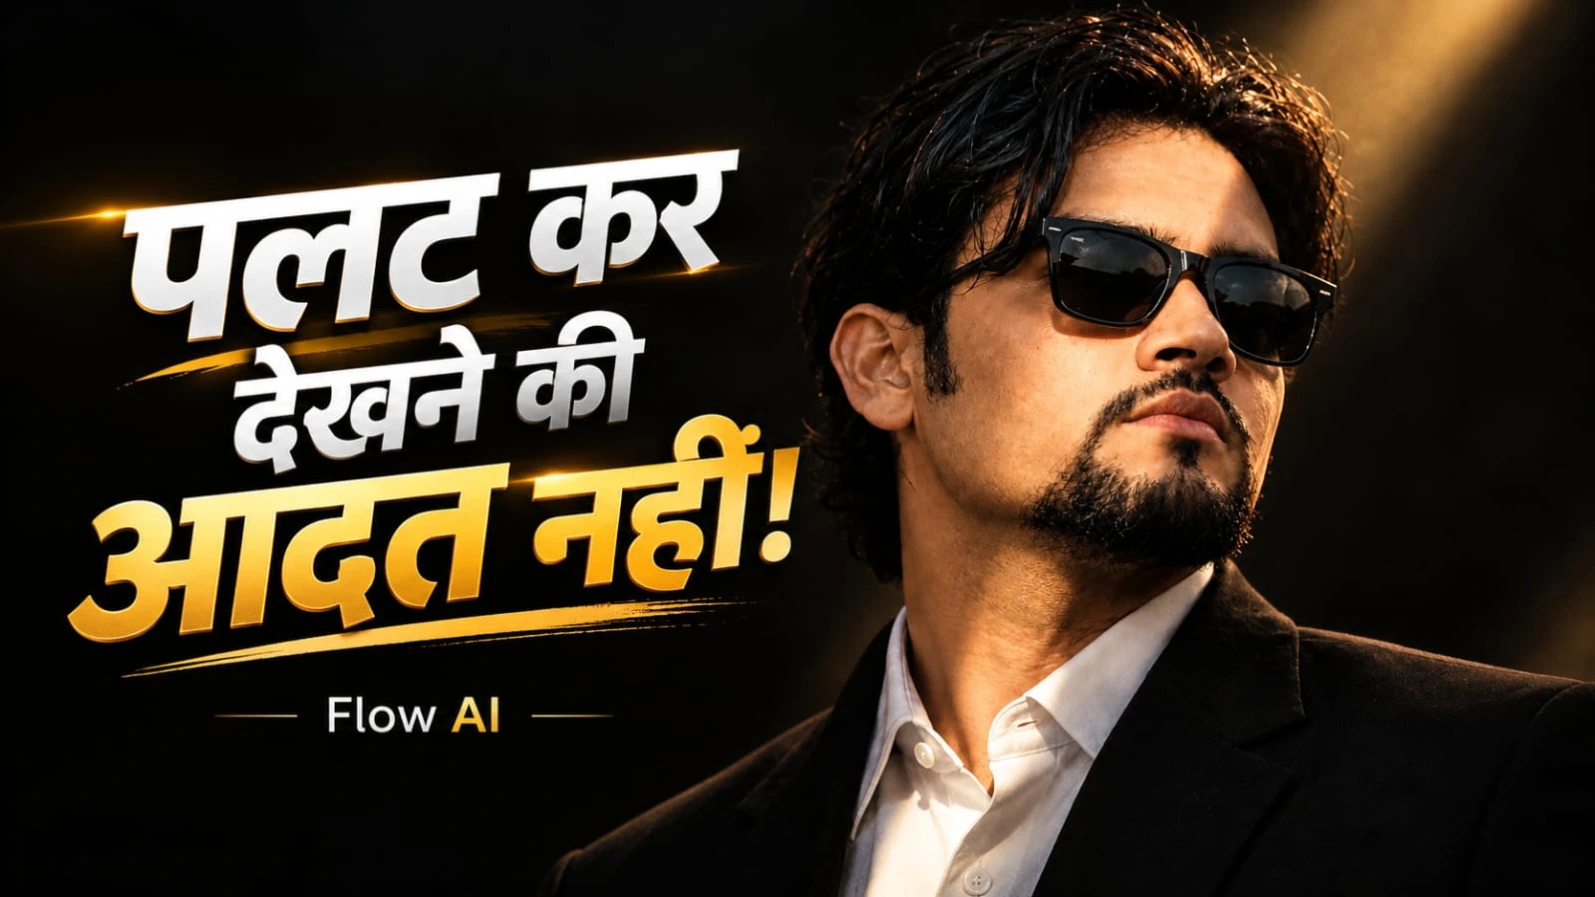
Dark Cinematic Attitude Dialogue AI Video Prompt se aap ek powerful aur realistic attitude dialogue portrait video create kar sakte hain. Is concept mein ek handsome South Asian man pitch-black studio background ke saamne over-the-shoulder three-quarter profile mein khada hota hai. Character ka torso camera se slightly away hota hai aur uska face camera right ki taraf turned rehta hai.
Character ke voluminous wavy dark hair, neatly groomed goatee beard aur classic black Wayfarer sunglasses hain. Outfit mein dark matte crew-neck shirt rakhi gayi hai. Background completely black hota hai aur character ke hair aur shoulder par warm golden rim lighting padti hai. High-contrast chiaroscuro lighting face ko dramatic aur cinematic appearance deti hai.
Video ka duration 7 seconds hai aur ismein do Hindi dialogue segments hain. Character ka performance controlled aur serious hona chahiye. Unnecessary hand gestures, dramatic expressions aur excessive head movement avoid karna hai. Is video ka main focus dialogue, natural lip-sync aur subtle facial movements par hai.
Dark Cinematic Attitude Video Kaise Banaye
Step 1: Character Reference Photo Prepare Karein
Sabse pehle ChatGPT se apni character reference photo banayein. Character ke medium wavy dark black hair, neatly groomed goatee aur black Wayfarer sunglasses hone chahiye. Dark matte crew-neck shirt pehnayein. Camera angle over-the-shoulder three-quarter profile rakhein.
Step 2: Flow AI Open Karein
Flow AI open karein aur image-to-video option select karein. Reference photo upload karein, agar tool support karta hai. Same character description ko video generation mein maintain karein, taaki hairstyle, beard aur sunglasses ka shape change na ho.
Step 3: Black Studio Background Set Karein
Background bilkul pitch black rakhein. Koi outdoor location, furniture ya extra object nahi hona chahiye. Character ke hair aur shoulder ke edges par warm golden rim light add karein.
Step 4: Cinematic Lighting Add Karein
High-contrast chiaroscuro lighting use karein. Face par controlled highlights aur deep shadows hon. Skin texture natural rahe aur sunglasses, beard aur hair ki details clearly visible hon. Excessive glow aur artificial skin smoothing avoid karein.
Step 5: First Hindi Dialogue Generate Karein
0 se 3 seconds ke beech character cold aur confident expression ke saath bole:
"Dushmani bhi hum bade saleeqe se nibhate hain..."
Dialogue ke samay lip aur throat movements subtle aur measured hone chahiye. Character ka posture stable rahe aur unnecessary gestures nahi hone chahiye.
Step 6: Second Dialogue Add Karein
3 se 7 seconds ke beech character ek calculated breath leta hai aur apni chin ko bahut halka sa upward tilt karta hai. Iske baad second dialogue deliver karta hai:
"Hum apne dushmano ke liye bhi... maut ki dua nahi karte."
Dialogue ke beech natural pause rakhein. Character ka expression cold aur composed rehna chahiye.
Step 7: Negative Prompt Use Karein
Bright daylight, outdoor background, formal business suit, white shirt, necktie, clean-shaven face, light brown hair, curly afro, distorted sunglasses, plastic skin, cartoon style aur flickering lights ko avoid karein.
Step 8: Final Video Edit Karein
Video ko vertical 9:16 format mein export karein. Face, beard, sunglasses aur golden rim lighting carefully check karein. Agar AI lip-sync sahi generate nahi karta, to visual clip separately generate karke Hindi voice recording ko editor mein synchronize karein. ARRI Alexa Mini LF, 85mm anamorphic aur 24fps cinematic style references hain; actual output AI tool ki capabilities par depend karega.
3. Hindi Life Lesson Dialogue AI Video Prompt | Rooftop Cinematic Reel
Original URL: https://www.prompt07ai.com/hindi-life-lesson-dialogue-ai-video-prompt-rooftop-cinematic-reel
Hindi Life Lesson Dialogue AI Video Prompt ki madad se aap ek realistic rooftop cinematic reel create kar sakte hain. Is concept mein ek South Asian man modern rooftop terrace par night-time environment mein khada hokar ek meaningful Hindi dialogue deliver karta hai. Background mein warm lantern lights, outdoor patio seating aur glowing city skyline dikhai deti hai.
Character ke wavy dark hair, neatly groomed goatee aur spectacles hain. Woh olive-green overshirt ke andar plain black crew-neck T-shirt pehenta hai. Video ka overall look real handheld smartphone footage jaisa hai, jisme slight natural camera shake hoti hai.
Is video ka main attraction iska life lesson dialogue aur natural hand gestures hain. Character pehle dono haathon se outward gesture karta hai. Uske baad hands ko paas laakar subtle pointing gesture karta hai aur camera ki taraf direct eye contact maintain karta hai. Final moment mein poora frame instantly freeze hokar high-contrast black and white ban jata hai.
Video ka duration 7 seconds aur format vertical 9:16 hai. Isliye dialogue, expressions aur movements ko timeline ke according maintain karna zaroori hai.
Rooftop Hindi Dialogue Video Kaise Banaye
Step 1: Character Reference Photo Banayein
Sabse pehle ChatGPT mein apni clear reference photo upload karein. Character ke wavy dark hair, groomed goatee aur rectangular spectacles clearly visible hone chahiye. Outfit mein olive-green overshirt, black T-shirt, dark jeans aur wrist accessories rakhein.
Step 2: Flow AI Open Karein
Ab Flow AI open karein aur image-to-video option select karein. Reference photo upload karein, agar available ho. Same face, hairstyle, beard aur spectacles ko poore video mein consistent rakhne ki instruction dein.
Step 3: Rooftop Background Create Karein
Character ko modern open-air rooftop terrace par night-time environment mein khada dikhayein. Background mein warm glowing lanterns, outdoor patio seating aur distant illuminated city skyline rakhein. Location uncluttered honi chahiye.
Step 4: Camera Movement Set Karein
Camera ko natural handheld smartphone footage jaisa look dein. Slight natural shake rakhein, lekin excessive camera movement ya sudden zoom avoid karein. Character ka face aur upper body clearly visible rehna chahiye.
Step 5: First Hindi Dialogue Add Karein
0:00 se 0:03 seconds ke beech character natural Hindi male voice mein bole:
"Bharosa sab par karo, lekin saavdhani se laala."
Is dialogue ke dauran character dono haathon se outward gesture kare. "Saavdhani se laala" words par gesture ko natural emphasis dein.
Step 6: Second Dialogue Generate Karein
0:03 se 0:07 seconds ke beech character apne hands ko paas laata hai aur subtle pointing gesture karta hai. Iske baad woh bole:
"Kyunki kabhi-kabhi khud ke daant hi jeebh ko kaat lete hain."
Character camera ki taraf direct eye contact maintain kare aur expression mein subtle smile ho.
Step 7: Lip-Sync Check Karein
Dono dialogues ki pronunciation aur mouth movement check karein. Character ke lips spoken words ke saath synchronize hone chahiye. Agar AI natural Hindi lip-sync nahi bana paata, to visual clip alag generate karein aur recorded Hindi voice ko editing software mein add karein.
Step 8: Final Freeze Frame Add Karein
Dialogue complete hote hi poora frame instantly freeze karein aur same moment high-contrast black and white effect apply karein. Gradual fade nahi hona chahiye.
Step 9: Final Export Karein
Video ko 9:16 vertical format mein export karein. Face, hand gestures, spectacles aur rooftop background ki consistency check karein. Original concept mein extra text, captions aur watermark nahi hain, isliye unhe add na karein. Actual 24fps output tool ki export settings par depend karega.
4. Cinematic Attitude Dialogue Video AI Prompt in 9:16 | Flow AI Tutorial
Original URL: https://www.prompt07ai.com/cinematic-attitude-dialogue-video-ai-prompt-in-9-16-flow-ai-tutorial
Cinematic Attitude Dialogue Video AI Prompt se aap ek dramatic aur premium portrait video create kar sakte hain. Is concept mein ek handsome South Asian man black tailored suit, white collared shirt aur classic black Wayfarer sunglasses pehenta hai. Character ke wavy black hair aur neatly groomed goatee beard hain.
Background completely black hota hai aur character ke face par ek single diagonal beam of warm golden sunlight padti hai. Is lighting se face par deep shadows aur golden highlights create hote hain. Video ka overall look cinematic live-action portrait jaisa hota hai.
Video ka total duration 10 seconds hai. Ismein opening close-up, first dialogue, second dialogue aur final bass-drop effect ke saath subtle smirk shamil hain. Character ko unnecessary body movements nahi karne hain. Is video ka main focus facial expression, Hindi dialogue aur controlled camera composition par hai.
Cinematic Attitude Dialogue Video Kaise Banaye
Step 1: Character Reference Photo Banayein
Sabse pehle ChatGPT ki madad se apni character reference photo create karein. Character ke wavy black hair, groomed goatee aur black Wayfarer sunglasses hone chahiye. Outfit mein tailored black suit aur white collared shirt rakhein.
Step 2: Flow AI Open Karein
Flow AI open karke image-to-video ya text-to-video option select karein. Agar reference image feature available hai, to character photo upload karein. Face, beard, hairstyle aur sunglasses ki consistency maintain karne ki instruction dein.
Step 3: Black Background Create Karein
Background completely black hona chahiye. Character ke face par ek single diagonal warm golden sunlight beam rakhein. Lighting mein strong highlights aur deep shadows hone chahiye. Extra objects ya outdoor location add na karein.
Step 4: Opening Close-Up Generate Karein
0:00 se 0:02 seconds tak macro-style close-up rakhein. Character apni aankhein calmly open kare aur directly camera lens ki taraf dekhe. Face par natural skin texture aur realistic details visible honi chahiye.
Step 5: First Dialogue Add Karein
0:02 se 0:05 seconds ke beech character controlled expression ke saath bole:
"Palat kar dekhne ki aadat nahi hai hamari..."
Dialogue ke samay natural lip movement aur steady eye contact maintain karein. Character ko unnecessary head movement nahi karna hai.
Step 6: Second Dialogue Generate Karein
0:05 se 0:08 seconds ke beech character apna head halka sa tilt kare aur second line bole:
"Alvida kehne wale... aaj bhi intezaar mein hain."
Ellipsis ke baad natural pause rakhein. Character ka expression cold aur composed hona chahiye.
Step 7: Final Bass-Drop Effect Add Karein
0:08 se 0:10 seconds ke beech metallic gunshot-style bass-drop audio effect add karein. Yeh sirf sound effect hai, screen par kisi weapon ko dikhane ki zarurat nahi hai. Isi waqt character ke face par faint bittersweet smirk appear honi chahiye.
Step 8: Negative Prompt Add Karein
Flat bright lighting, outdoor daylight, casual knitwear, cartoon styling, 3D CGI animation, plastic skin, oversaturated colours, distorted mouth, unsynchronized lips, twitching eyes aur blurry face ko avoid karein.
Step 9: Final Video Editing Karein
Video ko vertical 9:16 format mein export karein. Natural skin texture, facial proportions aur lighting consistency check karein. Agar AI lip-sync sahi nahi aata, to voice separately record karke video ke saath synchronize karein. ARRI Alexa Mini LF, 85mm lens aur 24fps cinematic style references hain, actual output selected AI tool par depend karega.
5. Luxury Hotel Entry AI Video Prompt with Lamborghini | Flow AI
Original URL: https://www.prompt07ai.com/luxury-hotel-entry-ai-video-prompt-with-lamborghini-flow-ai
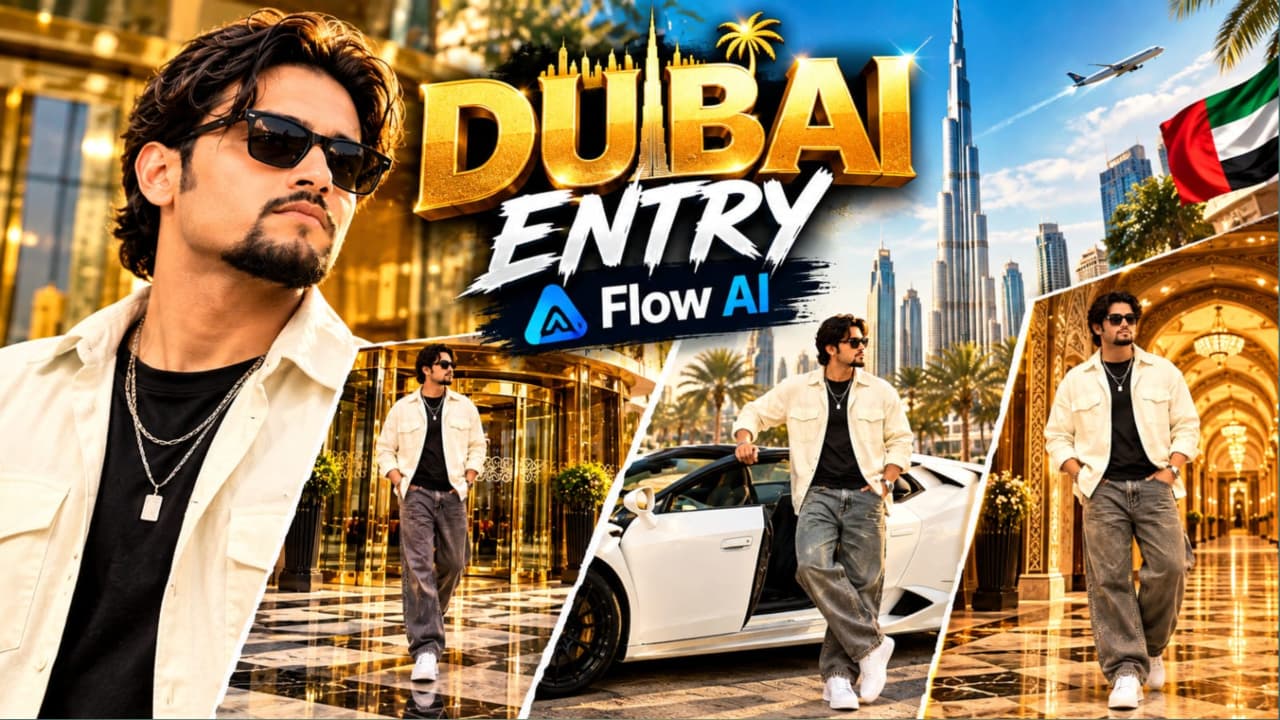
Luxury Hotel Entry AI Video Prompt ki madad se aap ek premium VIP lifestyle cinematic video create kar sakte hain. Is concept mein ek stylish young South Asian man ko teen different luxury locations mein dikhaya gaya hai. Pehle scene mein woh grand luxury hotel ke revolving glass door se bahar aata hai. Second scene mein white convertible Lamborghini ke driver side se exit karta hai. Final scene mein woh Arabic-inspired royal palace hallway mein confident pose deta hai.
Character ke voluminous wavy dark brown hair, groomed goatee aur dark sunglasses hain. Outfit mein open cream-white oversized overshirt, fitted black T-shirt, baggy grey denim jeans, chunky white sneakers aur layered silver chain with rectangular pendant shamil hain.
Video ka format vertical 9:16 hai. Teenon scenes mein camera composition alag rakhi gayi hai, lekin character ka face, outfit aur accessories consistent rehne chahiye. Is concept ka main attraction luxury hotel architecture, white Lamborghini aur royal palace hallway ka combination hai.
Luxury Hotel Lamborghini Video Kaise Banaye
Step 1: Character Reference Sheet Banayein
Sabse pehle ChatGPT se apni character reference photo banayein. Character ke wavy dark brown hair, groomed goatee aur dark sunglasses hone chahiye. Outfit mein cream-white oversized open overshirt, black fitted T-shirt, wide-leg grey denim, chunky white sneakers aur layered silver chain rakhein.
Step 2: Flow AI Open Karein
Flow AI open karke image-to-video ya text-to-video option select karein. Reference photo upload karein, agar available ho. Teenon scenes mein same character description repeat karein, taaki face, outfit aur accessories consistent rahein.
Step 3: Luxury Hotel Entrance Scene Banayein
First scene mein ek ultra-luxury hotel ka grand revolving glass door dikhayein. Door par polished gold-brass framing aur reflective glass panels hon. Ground par black-and-beige checkered marble pavement rakhein.
Character revolving glass door se bahar nikalta hai aur confident steps ke saath camera ki taraf walk karta hai. Ek hand casually grey jeans ki pocket mein hona chahiye. Camera wide eye-level tracking shot mein ho.
Step 4: Lamborghini Scene Generate Karein
Second scene mein white convertible Lamborghini ko sunlit outdoor parking plaza mein park dikhayein. Background mein modern commercial buildings aur Arabic signage hon.
Character driver side se car ke bahar nikalta hai. Woh ek hand door frame par rakhta hai aur camera ki taraf cool, confident glance deta hai. Car ka body shape, wheels, door design aur convertible roof consistent hone chahiye.
Step 5: Car Movement Check Karein
Driver door natural movement ke saath open hona chahiye. Character ka step believable ho aur hand door frame ko properly touch kare. Agar AI complex movement mein problem kare, to simple car-exit movement generate karein. Hands, door aur legs ki position carefully check karein.
Step 6: Arabic Royal Palace Hallway Scene Banayein
Third scene mein character ko ek opulent Arabic-inspired luxury hallway ke centre mein khada dikhayein. Background mein gold-patterned wallpaper, illuminated arched alcoves aur carved wooden ceiling beams hon.
Character dono hands apni baggy denim jeans ki pockets mein rakhe aur camera ki taraf face kare. Body movement bahut subtle honi chahiye. Medium full-body framing rakhein, jisse outfit aur hallway dono clearly visible hon.
Step 7: Camera Aur Lighting Set Karein
Video ka format vertical 9:16 rakhein. Hotel aur Lamborghini scenes mein bright natural daylight use karein. Palace hallway mein warm architectural lighting aur soft shadows maintain karein. Smooth gimbal-style camera movement use karein.
Step 8: Final Editing Karein
Teenon clips ko correct order mein arrange karein. Character ke face, sunglasses, hairstyle, beard, chain, overshirt aur shoes ki consistency check karein. Car reflections aur door movement bhi inspect karein. Frame ke edges par shoes, head aur car door crop nahi hone chahiye.
Step 9: Final Video Export Karein
Final video ko vertical 9:16 format mein export karein. Natural fabric movement, realistic reflections aur cinematic colour grading maintain karein. ARRI Alexa Mini LF, 35mm anamorphic look aur 24fps style references hain; actual output aapke AI video tool ki capabilities par depend karega.